Lego Speed Champions Display Case (F1 Version) Instructions
Lego F1 Speed Champions Assembly Instructions
Unpack and Inspect Components
- Carefully remove all parts from the packaging.
- Ensure all components are present and undamaged.
- Remove any protective films left on the acrylic pieces.
What You'll Need to Display your Lego
- Display case components (back panel, side panels, shelves, front cover)
- Included hardware (screws, wall plugs, brackets)
- Screwdriver or Allen key
These will all be provided in our kit, ensuring easy assembly for your display case. Please see the image below for the components you'll need.

Clear Case Assembly
Now you've check your parts It's time to begin assembling your stand. We shall start with the clear case.
First locate the clear acrylic sheet that has 4 holes upon it. This is the top of you case.
Using the metalic cubes attach each one in the corner of this sheet using the screws provide and the allen key to tighten them. (Please do not overtighten screws as this could damage the acrylic).
It should now look like this:

Now we shall begin attaching the walls, to the case which the same process applies. Using the metalic cubes attach each one in the corner of this sheet using the screws provide and the allen key to tighten them. (Please do not overtighten screws as this could damage the acrylic).

Once your case has all 5 pieces attached together you now need to attach the black base.
Your base has 2 sides and one will have an arrow engraved within it. It'll also have engraved some square cut-outs in each corner. These allow the cases to be stacked by alliging with the screws on the top of the case below. Please ensure this side of the base faces downwards.
Now you have a display decision to make you can chose to either:
- Display your Lego F1 Speed Champions Flat
- Display your Lego F1 Speed Champions Angled
Flat Display
To display your set flat simply place the desired upon the black base and then slot the case into the holes within the base to hold it securely.

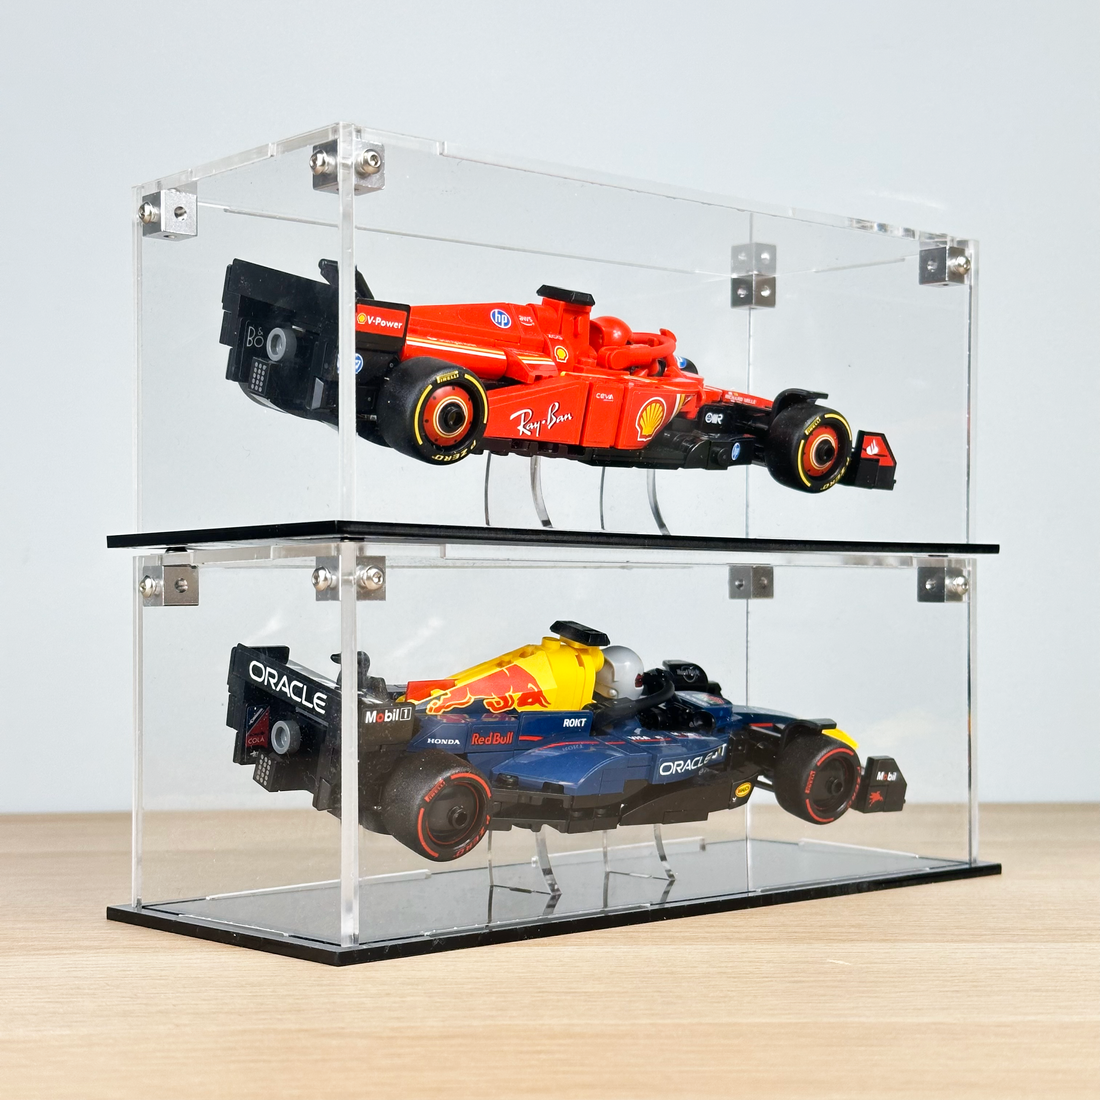
Angled Display
To display your set angled there are a few more steps. The remaining pieces shown below:

Will slot into the sections of the base. The pieces allow for the car to be displayed at an angle. Now the arrow becomes important. As the F1 cars are not perfectly central these holes are slighly off centred. So the arrow on the underside indicated which direction your car must face to fit within the case.
If you find you've done this wrong and wish to display the car facing the other direction. Simpily remove the clear acrylic from the base and rotate them 180° so they allow the car to be angled the other direction.
