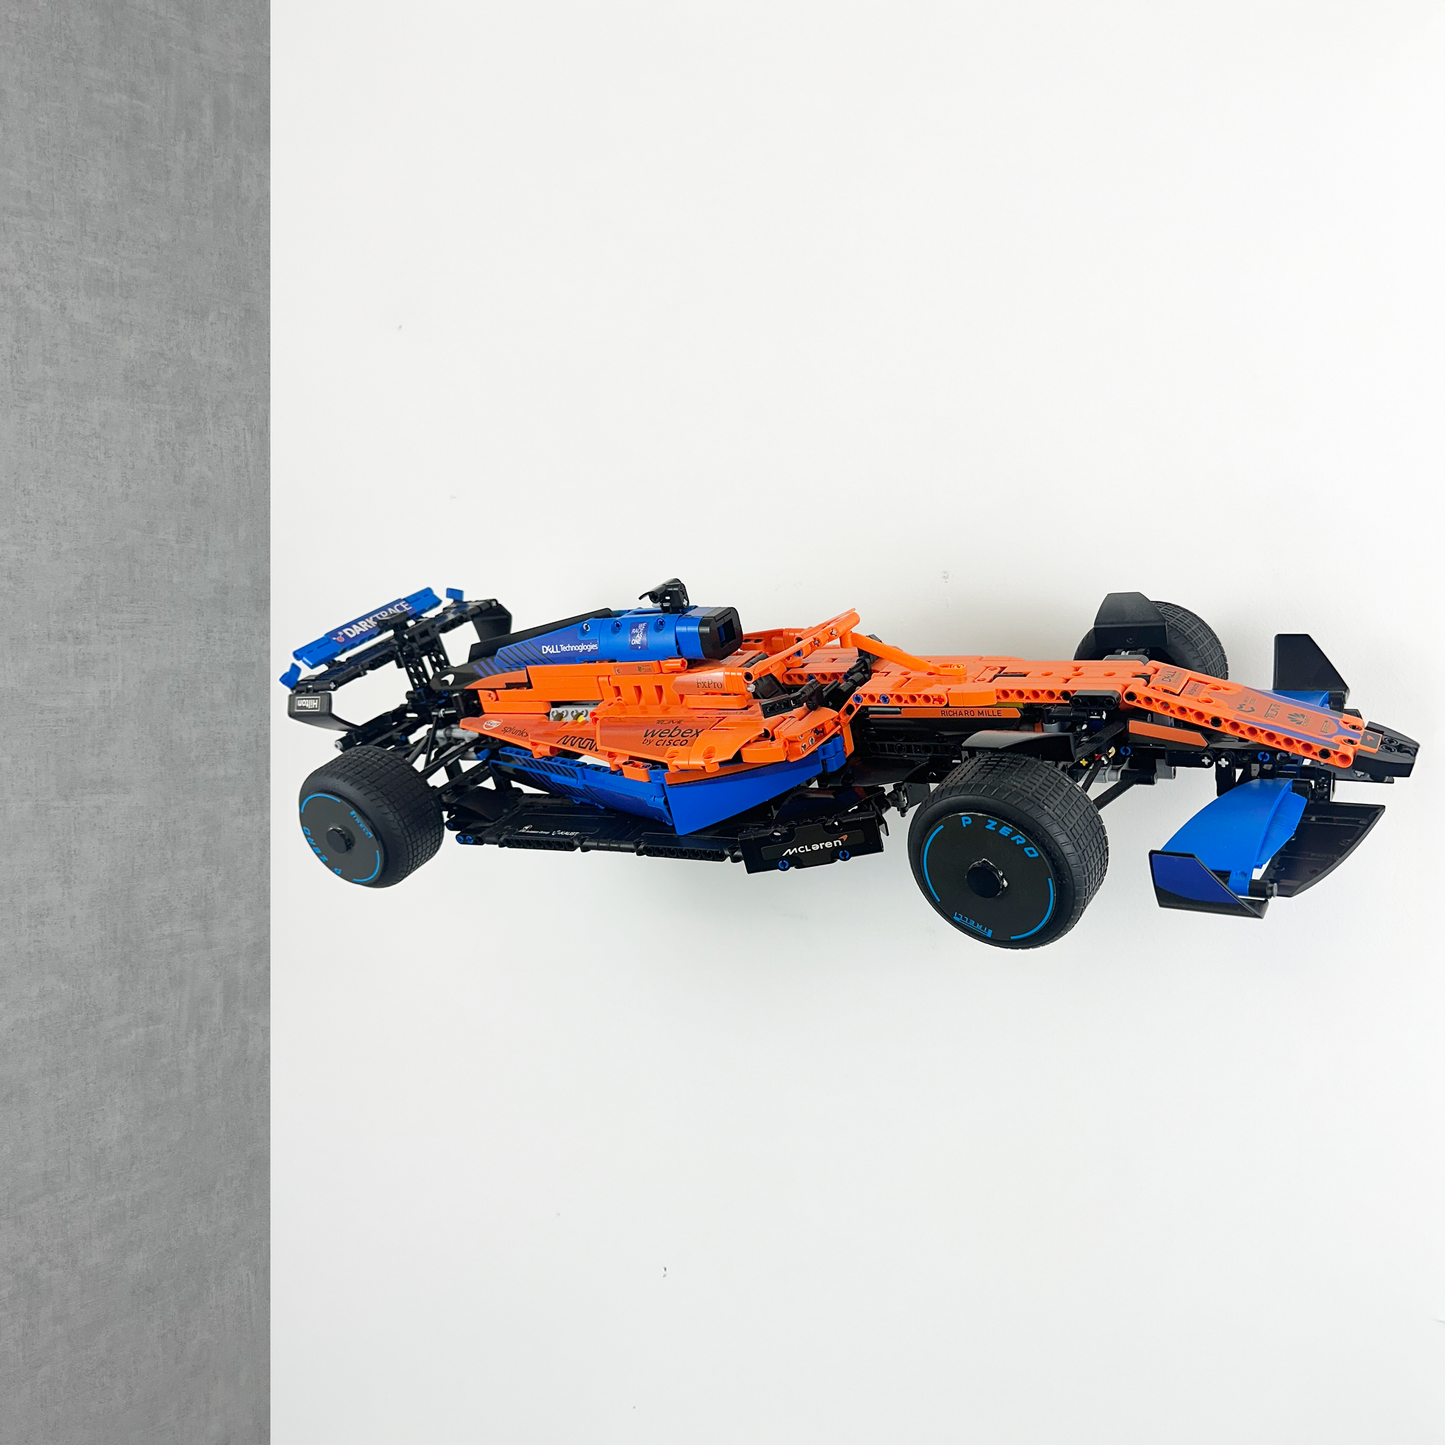
Wall Display Mount for LEGO® Technic Mclaren F1 Car 42141


Regular price
£12.99 GBP
Regular price
Sale price
£12.99 GBP
Taxes included.
Shipping calculated at checkout.
Quantity
Couldn't load pickup availability
Description
Description
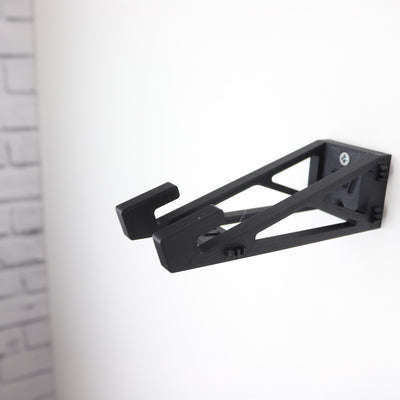
Showcase your LEGO® Technic McLaren Formula 1™ Car (42141) with this custom 3D printed wall display mount. Designed to hold your model securely at a dynamic, race-inspired angle, this mount creates the effect of your McLaren speeding alongside your wall. Crafted from high-strength black PLA filament, it blends seamlessly with your LEGO® set while providing a stable and precise fit. Ideal for LEGO® Technic F1 car wall display enthusiasts, this mount is both stylish and space-saving. Includes screws and wall plugs for quick, secure installation on most wall surfaces.
Product Features
Product Features
Assembly Instructions
Assembly Instructions
View Here: Mclaren F1 Instructions


Frequently Asked Questions
Shipping Information
All orders are processed within 1-2 business days before being handed over to our trusted shipping provider.
Lego Association
We hold no association with the LEGO brand. All product and company names are trademarks™ or registered® trademarks of their respective holders. Use of them does not imply any affiliation with or endorsement by them.
Compatible Lego Sets
These Sets Listed Below are compatible with this lego display.
Why Chose BrickNest?
Customer Reviews
Based on 6 reviews
67%
(4)
33%
(2)
0%
(0)
0%
(0)
0%
(0)
A
Great Product; RIGHT FIT…!!!
A
McLaren F1 wall mount lego


R
Looks amazing at this angle on the wall
D
Arrived on time really great have Lego cars on wall
s
Seems a little flimsy for the car that is going on it
Collapsible content
Product Tags