


BrickNest
Wall Mount for Lego NASA Discovery Shuttle 10283 Display Stand
Wall Mount for Lego NASA Discovery Shuttle 10283 Display Stand
Couldn't load pickup availability
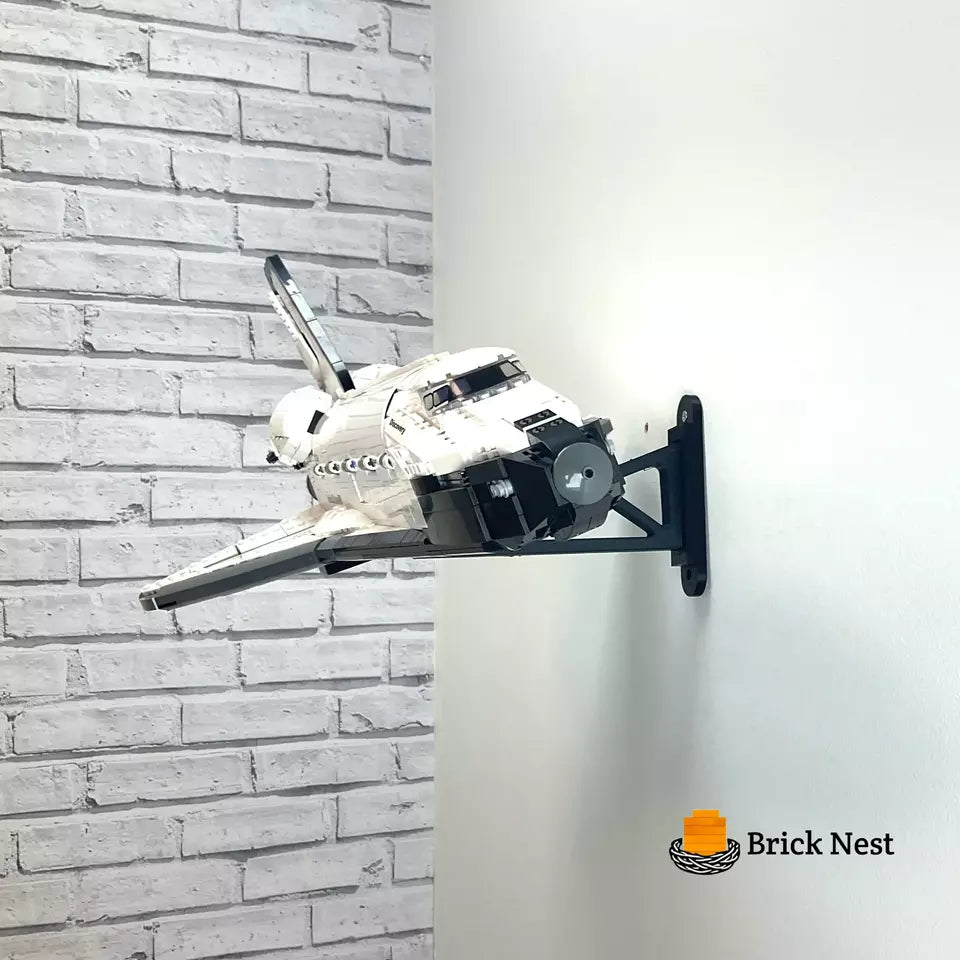
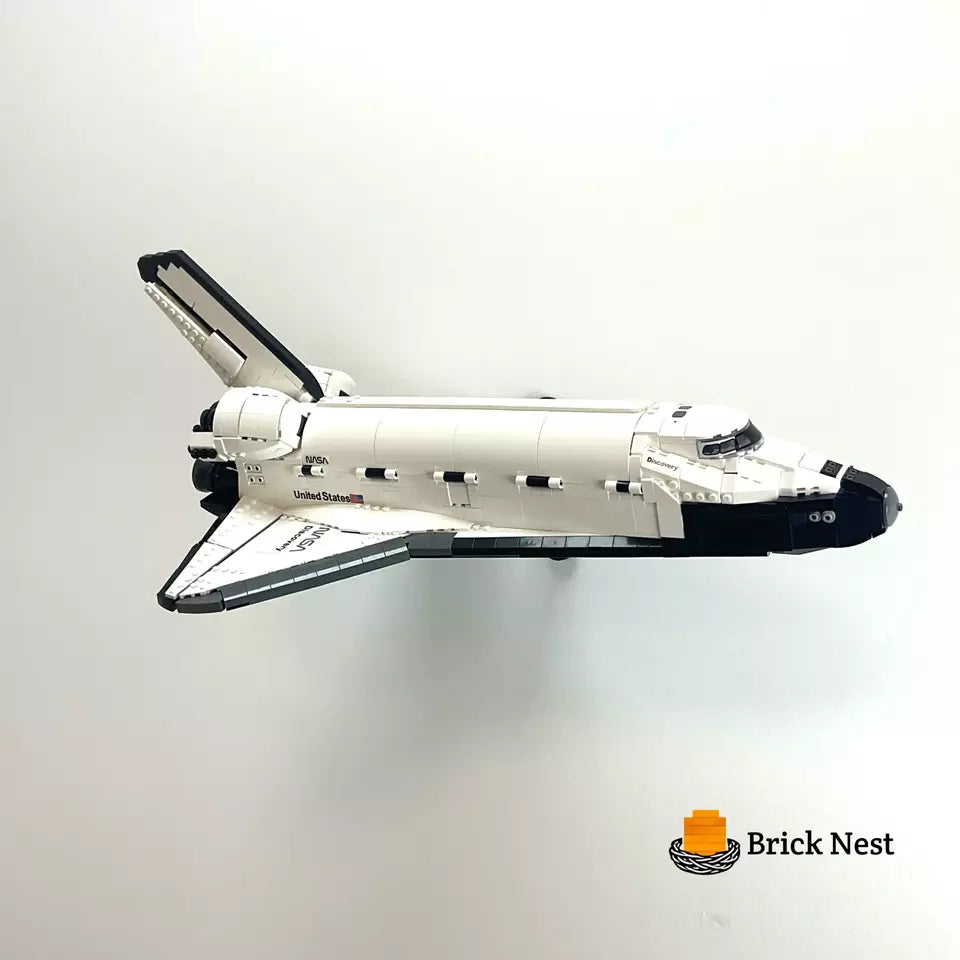
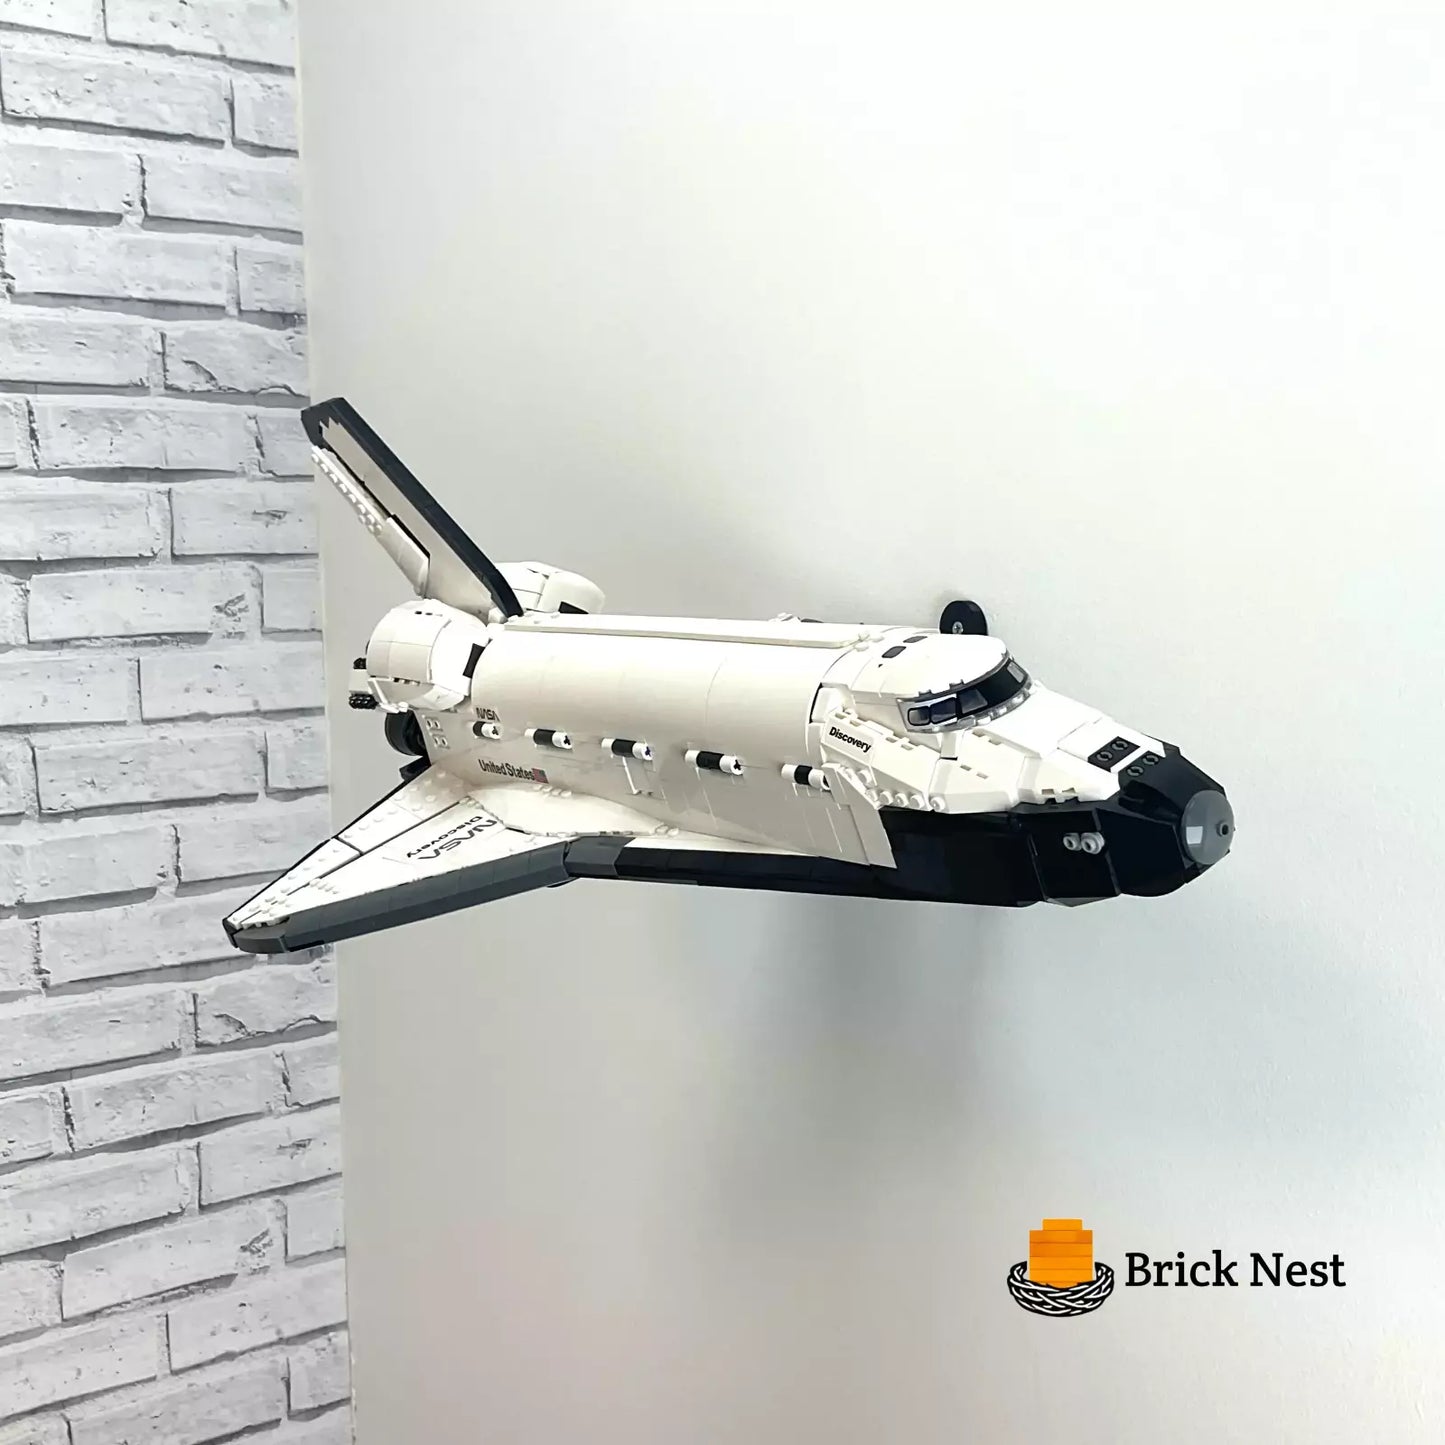
Display your LEGO® NASA Discovery Shuttle 10283 with pride using this custom-designed Wall Mount Display Stand. Designed specifically for this iconic NASA shuttle model, the mount securely holds your shuttle while showcasing its intricate details and majestic design. Whether you are a space exploration enthusiast or a LEGO® collector, this stand transforms your LEGO® NASA Discovery Shuttle into a stunning focal point in any room.
Crafted from durable, high-quality materials, this display stand ensures your LEGO® model remains safely mounted on the wall, while its minimalist design creates a floating effect that draws attention to the model's fine details. Installation is simple, with all necessary hardware included for a quick and easy setup.
Perfect for both display and storage, this wall mount stand frees up shelf space while allowing your LEGO® NASA Discovery Shuttle 10283 to take center stage in your collection.
LEGO® is a trademark of the LEGO Group of companies, which does not sponsor, authorize, or endorse this product. Our products are not associated with the LEGO Group.
Please note: That any Lego Sets shown are for demonstration purposes only and are not included
Assembly Instructions
To assemble this wall mount start by first removing the wheels wheels upon the base of the model. Leave the 2 grey rods in each as this is how the mount connects.
Step 1
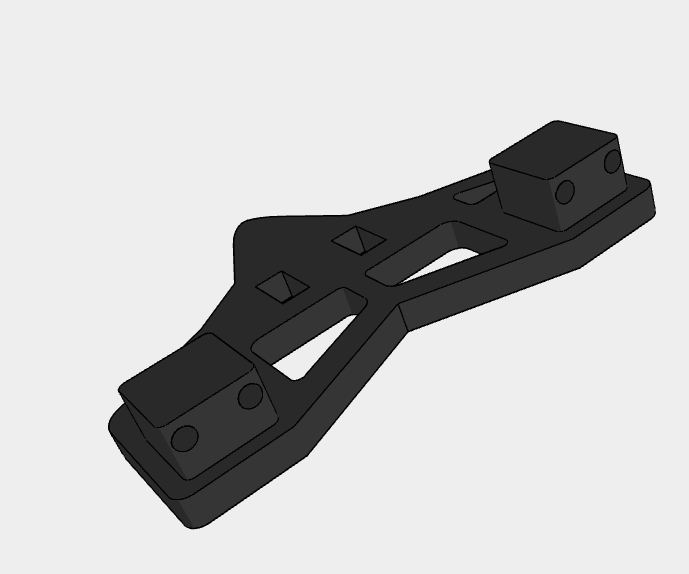
Using this piece fold the wheel rods upwards and push the rods through the holes. Once the rods are in the holes fold down the plate and wheel rods until the plate is sitting upon the base of the shuttle.
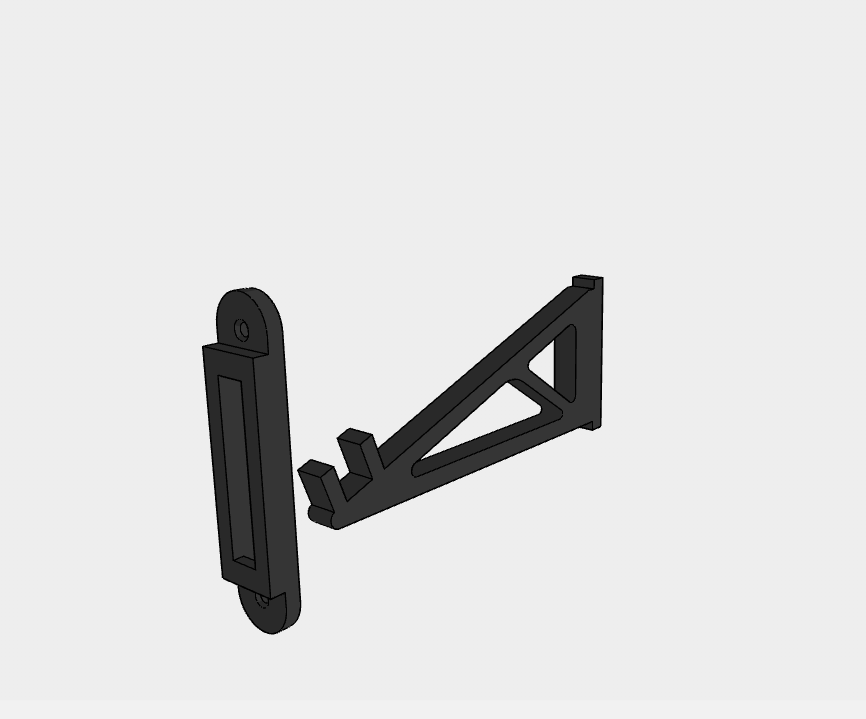
Step 2
The arrange the two pieces as shown and push the pieces together. Ensuring that the holes are alligned. Then fix to the wall using the screws and wall plugs that we provided.
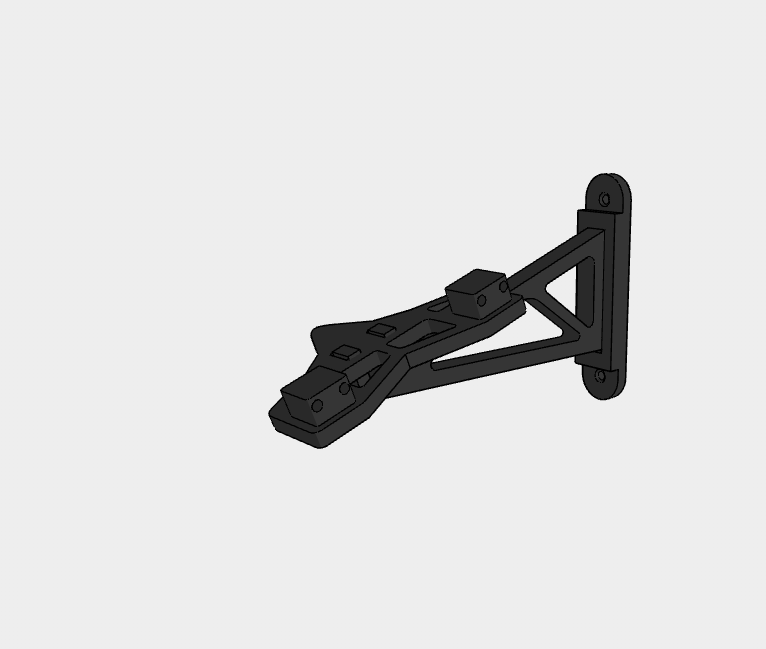
Step 3
Once alligned slot the piece connected to the shuttle via the hole and ensure that it is pushed down as far as it can be. As shown in the image without the shuttle on. Ensure that the shuttle is oriented in the direction of your choice and if you have any questions feel free to contact us using the button below!